Vegetable gardens have become a common occurrence of this year’s quarantine activities. With more time at home and less variety in grocery stores, backyard gardening provides people with a chance to stay active and quite literally see the fruits of their labor.
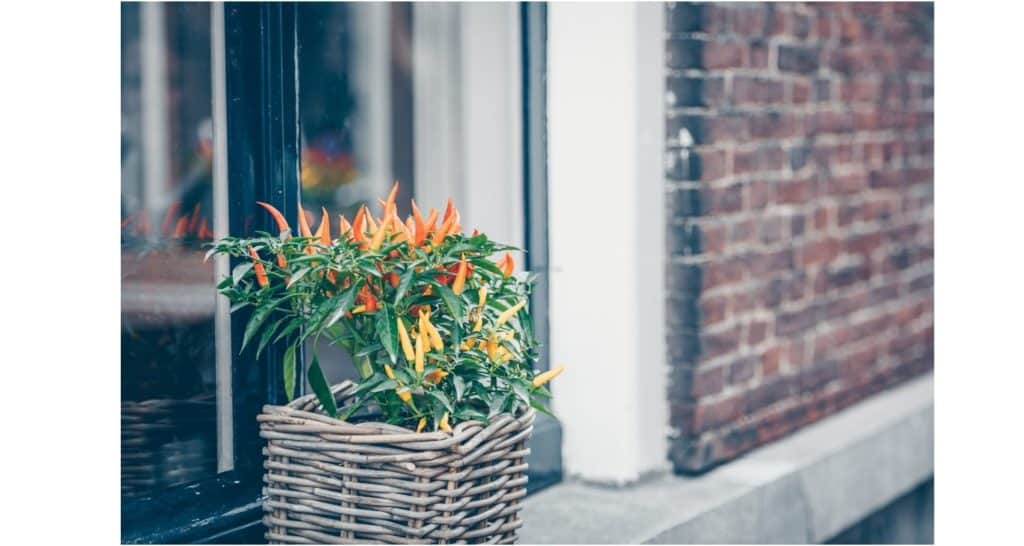
Peppers are a great option for novice and experienced gardeners alike who like to add a little spice to their life and their meals. Peppers are easy to grow all over the United States and thrive in both containers and garden beds.
All you have to do is pick your pepper and start growing! There are some things to keep in mind when growing a pepper plant from an actual pepper.
So let’s see how we can start growing our own pepper plants from seed.
Harvesting Pepper Seeds vs Buying Seeds
Before you get started planting, you have to decide which seeds to use. There are two options: buying seeds or harvesting them from peppers.
Buying seeds is an easy option, simply purchase pepper seed packets from your local gardening center or even have them delivered to your front door by ordering from online suppliers.
The alternative to buying seeds is harvesting them from an existing pepper. The best sources for good peppers is to either:
- Purchase your favorite type of pepper from your local grocery store
- Take a pepper from an existing pepper plant that still bears fruit
There are a couple of things to keep in mind if you decide to harvest seeds from an existing plant.
Seed Saving
Harvesting seeds from the fruit, also known as “seed saving,” is a great way to start down the path of growing delicious peppers. Seed saving is both cost-effective and sustainable.
By learning how to seed save, you will have plenty of seeds stored for the next growing season. Since peppers are annual plants you will need to plant new seeds every year.
Harvesting Pepper Seeds
If you already have access to pepper plants to harvest seeds, be sure to pick from the healthiest plant that produces the best tasting peppers. By carefully choosing the right plant to harvest seeds from, you are ensuring your next pepper patch will be both hardy and delicious.
Once you have decided on the plant you want to harvest seeds from, let the chosen fruit fully ripen on the plant until it starts to wrinkle. This can take up to two weeks past its prime picking window.
The picking delay is to make sure the seeds within the fruit are fully mature and more likely to grow into a strong pepper plant once they’re planted.
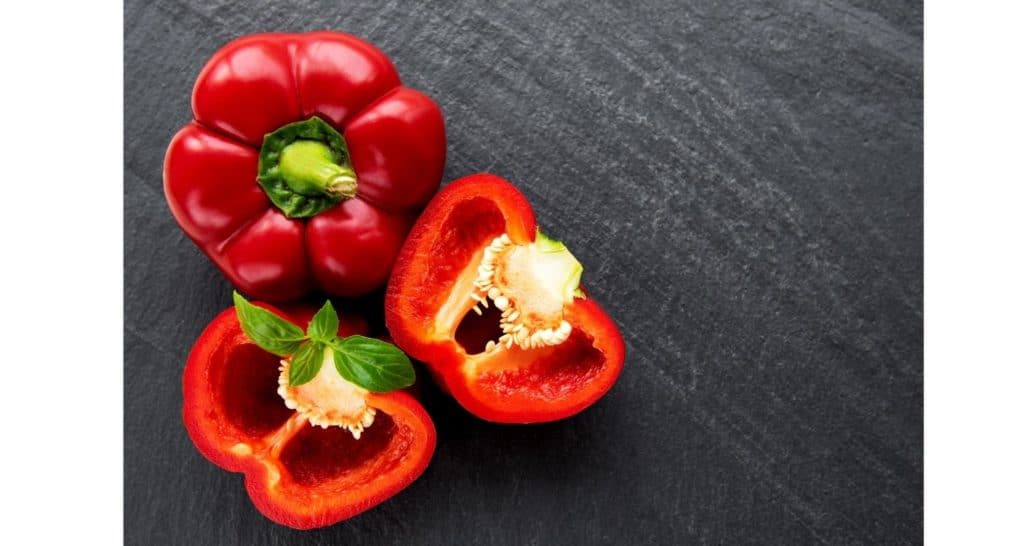
Next, cut a hole around the stem of your wrinkly pepper and, using the stem as a handle, twist out the core of seeds. Examine the seeds carefully and remove any that look unhealthy (signs of unhealthy or unviable seeds include damage or discoloration).
Spread the healthy seeds out on a dry paper towel or newspaper. Let them dry for several days turning them over every so often to make sure the entire seed is drying.
This process should take about a week for the seeds to completely dry and turn brittle, ready to store for future planting seasons.
Storing Seeds
When storing seeds for future planting seasons, it is important to keep the seeds dry and in a place that has a consistent temperature.
Preferably you want to store the seeds in a cool and dark place with temperatures ranging between 35 and 50 degrees Fahrenheit. Your fridge will likely be in this temperature range which makes for a great storing location if you have room.
If done correctly, your harvested seeds will be viable for years to come.
Hot Peppers vs Sweet Peppers
There are two types of peppers to consider for your garden when deciding on what kind of pepper to grow: hot peppers and sweet peppers.
Hot peppers get their heat from the higher amounts of capsaicin they contain while milder peppers contain low amounts allowing for a sweeter flavor.
Depending on your personal taste, you may prefer one type to the other. You may even want a variety and decide to plant both. Personally I recommend planting both since you will have a wider variety of peppers for all your future recipes.
Here are some common types of hot and sweet peppers that you can grow in your garden.
Types of hot peppers include:
- Jalapenos
- Habanero
- Cayenne
- Poblano
- Serrano
- Tobasco
- Thai Chili
Type of sweet peppers include:
- Bell Peppers
- Mini Bell
- Banana
- Carmen
Easiest Types of Peppers to Grow
If you’re new to vegetable gardening and want a pepper plant that is almost guaranteed to produce peppers then you will want to try growing the Jalapeno pepper.
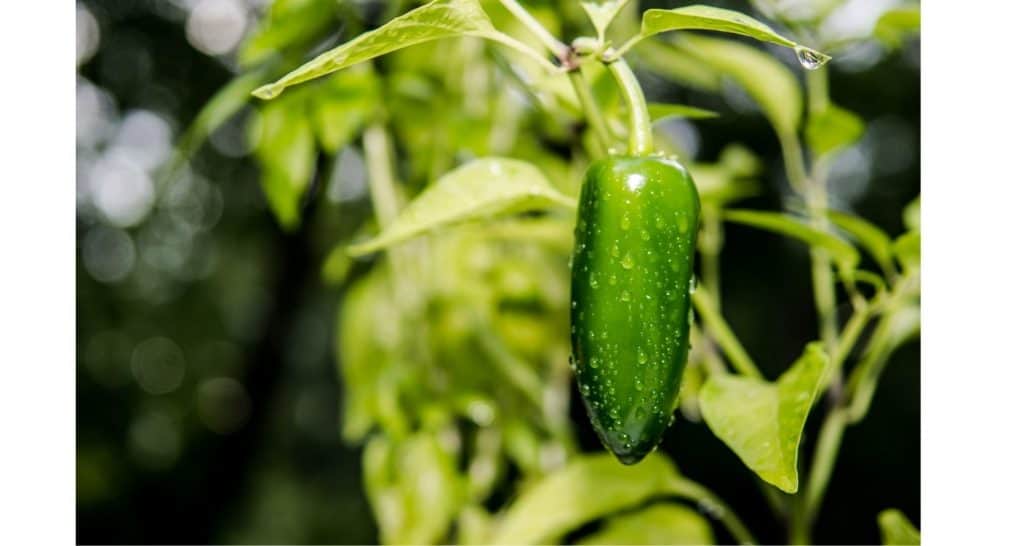
Jalapeno peppers are the easiest and fastest pepper to grow. They are ready to pick and eat in just two and a half months after planting. You will be able to get quick and hot gratification from all of your hard work.
Not to mention, Jalapenos are a versatile pepper and can be used in a variety of crowd-pleasing recipes. Some of my favorites are fresh salsa and bacon-wrapped jalapeno poppers.
You can almost never go wrong with having a jalapeno plant since this pepper has a great balance of flavor and heat.
When and Where to Start Your Seeds
Once you have decided on the type of pepper you want to plant, it is time to start sowing your seeds.
Pepper seeds germinate and grow best in warmer soils. Ideally you want the soil to have a temperature above 75-degrees Fahrenheit.
Peppers can take anywhere from eight to ten weeks before they are ready to be transplanted outside. So it is best to start sowing your peppers indoors around January or February.
Starting Seeds Indoors
Starting seeds indoors might seem like an intimidating thing to do at first. However, it’s as simple as planting seeds outside but allows you to have more control over temperature and light.
Here are a few common and easy ways to start seeds indoors.
Paper Towel Method
The oldest and most commonly used method to start seeds in a pinch is to use a paper towel and a zip lock bag. In order to start seeds with this method you just need to:
- Get a paper towel damp. Make sure it is not dripping wet
- Spread the seeds evenly across the paper towel
- Fold the paper towel over the seeds
- Place the folded paper towel into a zip lock bag
- Fill the zip lock bag with air and zip it shut
- Place the bag anywhere out of direct sunlight
The zip lock bag acts like a miniature greenhouse that retains heat and moisture which is the perfect environment for seeds to germinate.
The downside to this method is that you will need to remove the seedlings from the paper towel in order to transplant them into soil. You can just tear the paper towel with the seedlings roots and plant directly into your soil.
Seed Starting Tray
The other common way to start seeds indoors is to use a seed starting tray.

Purchasing a seed starting tray from your local garden center or online might be a good idea If you are looking for an easy way to start sowing your pepper seeds.
Simply add soil, plant seeds one-fourth of an inch deep, and water to keep the soil moist. Then wait for your pepper plants to start sprouting.
Germination Period
The germination period of a seed is the time it takes for it to turn into a seedling.
In regard to germination periods listed on seed packets, germination often refers to the time it takes to see your tiny green leaf sprouting out of the soil after you first planted it.
For peppers, the germination period depends on the type of pepper you choose to plant. On average, you should see your baby pepper plants sprouting around two to three weeks after planting them.
Fertilizing your Pepper Sprouts
Once your plant has actual leaves, you can start fertilizing your peppers. You can choose a type of fertilizer you are already familiar with, just make sure it is suitable for edible plants.
A popular fertilizer for peppers is a fish emulsion or fish and kelp fertilizer.
While fish fertilizer is infamous for its smell, it does promote plant growth without harmful chemicals. You can also use a diluted amount on your young pepper plants.
Simply water your peppers with a fourth of the amount recommended on the container since your plants are still in an early stage.
Transplanting Your Peppers
Four to six weeks after the last frost, it is time to begin the process of transplanting your baby peppers from the comfort and care of your home to their new home in the great outdoors.
Hardening off your pepper plants is an important part of this process as transplanting can be traumatic for your plant if not done correctly. Hardening off is essentially easing your plants into the great outdoors after being in their sheltered climate-controlled environment for their entire lives.
Start by placing your sprouts outside for half an hour and slowly work your way up to eight hours a day then eventually a full night. This gives them time to adapt to the elements and outdoor climate.
By skipping the hardening off process, you run the risk of shocking your plants from extreme conditions which can even result in their untimely demise.
Spacing
Now that your maturing pepper plants have been eased into their new environment, it is important to consider the spacing requirements of your plants.
Depending on the variety of peppers you chose, they will have unique spacing requirements to ensure your plant has enough room to flourish and produce an abundance of peppers.
On average, your peppers should be planted at least twelve inches apart on all sides but double-check on the spacing requirements for your specific pepper species.
Time to Mature
Depending on the variety of peppers you are growing, your peppers will be ready to harvest anywhere from sixty to one hundred and fifty days after planting.
Note: Sweeter varieties of peppers mature faster than hotter peppers and are usually ready to pick between two to three months after planting. The hotter varieties take longer and may not be ready to harvest for five months after planting.
Harvesting your Peppers
As a quick recap, you will have
- researched which type of pepper to plant
- harvested pepper seeds
- sowed your seeds at the correct time
- babied them until they were ready to be transplanted outside
- waited for them to bear precious fruit
You are now finally ready to harvest the fruits of your labor. It feels good, doesn’t it?
There is one last step before you are ready to take your peppers inside and prepare them for your next delicious meal.
First, you have to be sure they are ready to harvest. Research your specific species of pepper to make sure you harvest them at the right time which is indicated by their coloring.
And don’t forget to save some seeds for next year by waiting a few extra weeks to pick your pepper. Repeat the steps above to harvest the seeds and start preparing for another year of delicious peppers!