Pests, specifically aphids, can damage your plants and stunt their growth. Aphids are soft-bodied insects that will suck the nutrient rich sap out of your plant. This means it will take longer before you can harvest your brussels sprouts.
So how do we organically get rid of aphids on brussels sprouts? First use a water hose and spray off all the aphids on your plant. Make sure to spray both sides and folds of each leaf since the aphids tend to hide in little nooks. Aphids prefer to live and eat near the tender green leaves in the center so open those up with your fingers and spray there as well. Next use an insecticide soap to kill any remaining aphids and prevent new aphids from coming back.
Here’s a video walk through of how to get rid of aphids on your brussels sprouts:
What Do Aphids Look Like On Brussels Sprouts?
Here is how the aphid infestation on my brussels sprouts looked. You can see that aphids will hide on the undersides and folds of the brussels sprout leaves. The aphids tend to eat and live by the new tender leaves near the center of the plant.
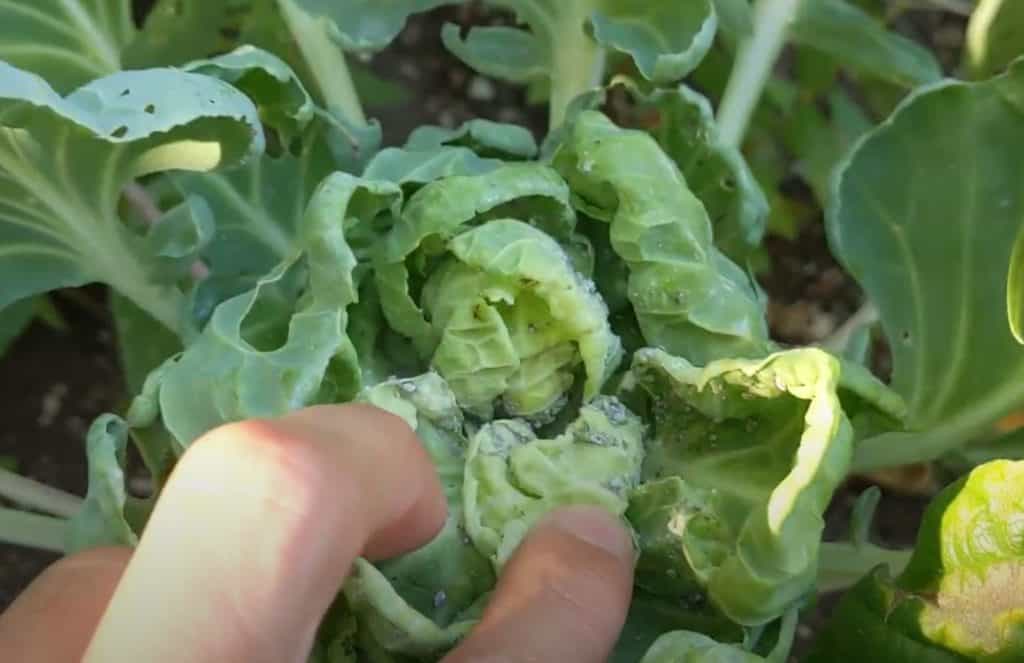
You can see both the aphids and their eggs all over the brussels sprouts leaves on both the inside and underside. The aphids on my plants are white but aphids come in a variety of colors such as green, yellow, red, black, brown, or mottled.
Regardless of color, if you see a lot of 1/16th to 1/18-inch long insects crawling all over the underside and folds of your brussels sprouts then you probably have aphids.
How To Get Rid Of Aphids
Getting rid of aphids on brussels sprouts is the same as any plant. The only challenge with brussels sprouts compared to other plants is that there are those layered leaves. This means you need to check both sides of each leaf for aphids.
In order to get rid of aphids on your plants, just follow these 3 steps:
- Use a water hose and spray the aphids off your plant
- Spray both sides of each leaf
- Use insecticide soap and spray both sides of each leaf
Repeat this steps as many times as you need to get the aphids off your plants the first time. Be sure to monitor your plants for about 2 weeks to ensure they do not come back. Otherwise you can use the insecticide soap spray to kill and prevent new aphids from coming back.
Insecticidal Soap
There are a few options when deciding which insecticidal soap to use. Your local garden center will have premade mixtures that you can purchase. You can also use a homemade spray with castile soap or neem oil.
Lets dive into each option and show you how to make the homemade spray since that’s the one I recommend.
Homemade Insecticidal Soap Spray
Creating an insecticidal soap spray at home is simple to do. All you really need to do is dilute the oil or soap with water. So let’s first take a look at using castile soap to create this insecticidal spray.
Dr. Bronner’s Insecticidal Spray Recipe
Dr. Bronner’s is a highly recommend brand of castile soap to use when creating an insecticidal spray. The peppermint castile liquid soap is the most popular option since peppermint is a natural insect repellent. Not to mention it smells quite nice.
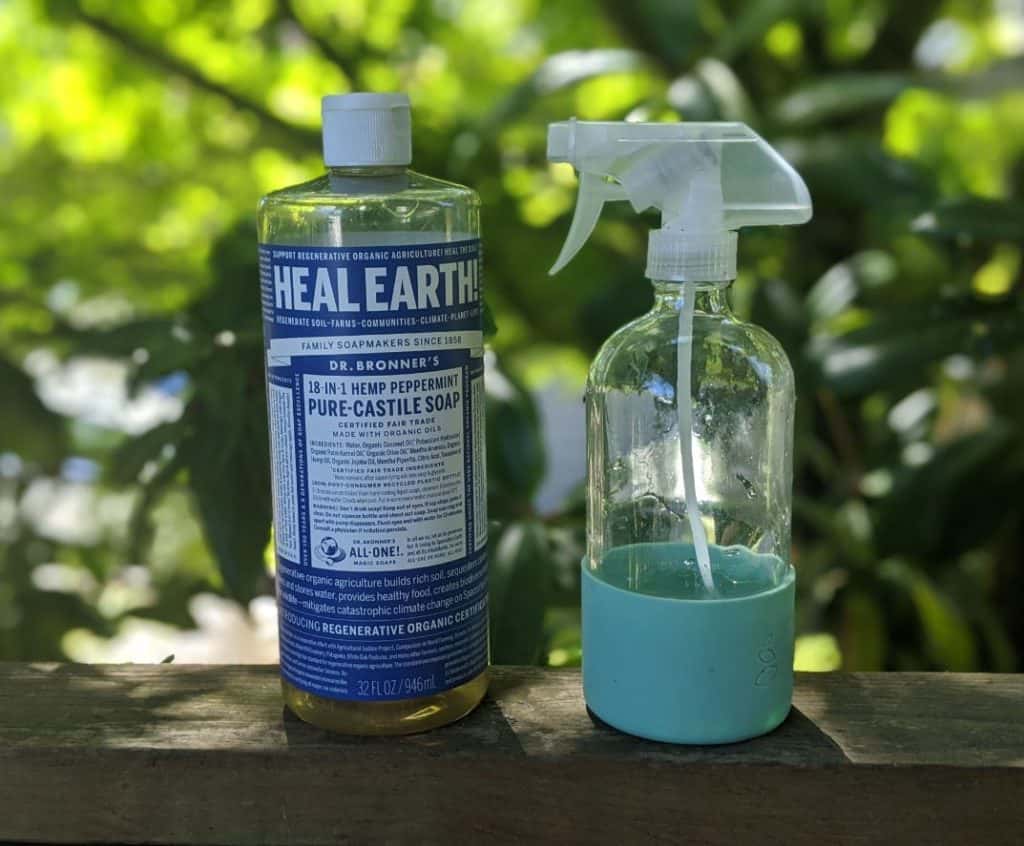
Castile soap is made from vegetable oils which is what you want to use since these soaps will not damage your plants or soil.
DO NOT use dish soap especially ones with fragrances or degreasers for your insecticidal soap spray.
Fragrances and degreasers may harm your plants and soil so avoid using these soaps at all costs.
Mixing Instructions:
- Simply mix 1 tablespoon of liquid castile soap per quart of water.
- Use warm water to promote mixing.
- Pour the mixture into a spray bottle.
- Shake thoroughly before spraying your plants.
- Pro-tip: Use a half gallon pump sprayer to treat larger plants or infected areas.
Application Instructions:
- Apply the insecticidal soap spray onto a small test area a day or two before treating the entire infestation. I’ve never had an issue with the Dr. Bronner’s insecticidal spray but I just want to make sure that you don’t ruin your plants if there’s a negative reaction.
- The best time to use your soap spray is in the evening. The morning and mid-day are bad times to apply this spray since it will may cause your plant leaves to burn. Remember this spray sits on your plant’s leave so the water can act as a magnifying glass on your leaf surface.
- Insecticidal soap spray only works if the aphids are sprayed directly. So be sure to spray directly onto the pests and coat them thoroughly.
- Made sure to spray both sides of each leaf and any folds or curls otherwise those aphids will continue to come back.
- You can rinse off the soapy spray from your plants leaves after an hour if you like. I have left mine on my plants with no negative side effect. However, if the next day is going to be hot then it might be worth spraying your plants leaves clean of any remaining soap.
- Re-apply the soapy spray every 2 to 3 days for about 2 weeks. Make sure the aphids are completely gone otherwise you risk them coming back since they can reproduce quickly.
How Insecticidal Soap Spray Kills Aphids
The great news is that soapy water does kill aphids when sprayed directly onto them. However, the reason why soapy water works is a little tricky to answer.
There are 2 popular theories that gardeners and scientists think cause soapy spray to work as an effective aphid killer.
- According to Colorado State University and the University of California, the soapy spray removes the protective wax on the insect’s body causing death through excess loss of water.
- However, there is also a common belief that the soapy spray helps keep water stuck to the insect’s body which causes it to suffocate. This is due to the fact that insects breathe through small vents on their bodies called spiracles.
Unfortunately, I could not find any conclusive reason why this spray works. Comment down below or message me if you figure out why this soap spray works at killing aphids.
Neem Oil Insecticidal Spray
Neem oil is a stronger natural option when it comes to spraying pests. Personally I have not used neem oil since the castile soap option has worked for me. However, here is a great article on neem oil and how to emulsify and use it properly.
Pre-made Insecticidal Spray
I’m not going to dive into the pre-made insecticidal sprays that you can purchase at your local garden centers. Personally, I do not recommend these even if they say they are safe and organic.
You really won’t know what they put in these insecticidal sprays. Not to mention there have been times when a company will include synthetic, non-organic pesticides that aren’t listed on the label.
So the only way to know what’s inside of an insecticidal spray is to create it yourself!
Natural Predators of Aphids
The other option that you can try for an aphid infestation is to introduce some of their natural predators. Luckily there are a lot of natural predators that eat aphids AND we are able to purchase some of these bugs.
The list of natural predators of aphids are ladybugs, ladybug larvae, soldier beetles, hover flies, predaceous midges, big-eyed bugs, lacewings, parasitic wasps, hornets, yellow jackets, spiders, and assassin bugs.
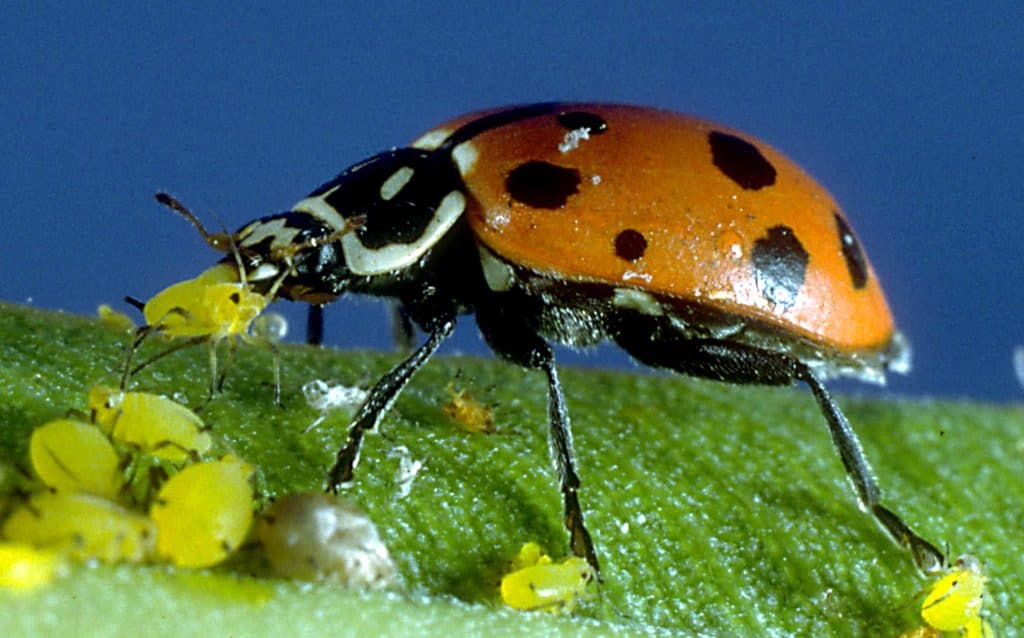
Ladybugs For Aphids
Lady bettles, more commonly referred to as ladybugs, are a great option to naturally reduce and prevent aphids from eating your plants. On average, a ladybug will eat 50 aphids a day and their larvae will eat their weight in aphids each day.
So where do we get ladybugs and how do we keep them around our garden instead of having them fly off?
Where To Purchase Ladybugs
You can purchase ladybugs at your local garden center which makes these a convenient option for most home gardeners. You can also purchase ladybugs online if you don’t have a nearby garden center. Even Amazon has ladybugs for sale that get shipped from various nurseries and insect farms.
Normally you will get anywhere from 500 to 1,500 ladybugs per container which means you can release these in waves.
Remember that ladybugs eat aphids but can fly off. Ultimately, you want the ladybugs to love your garden so much that they call it home and raise their larvae. Ladybug larvae are what consume the most aphids and cannot fly away.
Creating A Ladybug Home
There are a few different ways of creating an environment that ladybugs enjoy so they stick around. I have seen insect hotels which are an interesting concept. However, I’ve seen them not work so I’m going to cover the more simple approach.
Let’s cover the basics for releasing ladybugs straight into your garden.
Spray Your Garden With Water
Make sure to spray the area that you plan on releasing the ladybugs with water. So if you have an area that is infested with aphids then make sure to spray down that area first.
Ladybugs that awaken from their hibernation will be thirsty. So spray your garden’s leaves with water an hour before releasing the ladybugs. This way the ladybugs will hang around your garden since there will be water that’s easy to reach.
Release Ladybugs In Aphid Heavy Areas
Ladybugs will enjoy waking up from hibernation if they have both water and food nearby. So after you spray your garden with water, make sure to release your ladybugs where there are lots of aphids.
This will increase your chances of the ladybugs sticking around and encourage them to lay eggs. This way you can eventually get ladybug larvae which are the best aphid eaters.
Release Ladybugs Around Sunset
When a ladybug awakens from hibernation, its first instinct will be to find water and food. Next the ladybug will want to see if it can find a better area for food and water than the one it just woke up to.
In order to prevent your ladybugs from flying away immediately, release them around sunset. Cooler temperatures reduce the activity of ladybugs. This is why ladybugs are stored in refrigerators since it keeps these bugs dormant.
Warmer temperatures will encourage the ladybugs to explore other areas which means they’ll leave your garden. So don’t be surprised if you don’t have many ladybugs in your garden if you release them in the morning or mid-day.
Release Ladybugs In Phases
It’s a good idea to not release all of your ladybugs at once. Typically you will have 500 to 1,500 lady bugs in your container so you can release them on different days.
I recommend releasing 1/3 to 1/2 of the container at first in a few different areas of your garden. Store the remaining ladybugs in your fridge while you wait a few days to see how the ladybugs behave.
This will give you a chance to see where the ladybugs are most active which tells you where most of the aphids are. For example, the basil plants in my garden had ladybugs crawling all over them for the first two days. This let me know that the aphids had spread from my brussels sprouts to my basil plants.
After 3-4 days you will not see many ladybugs left in your garden and you can decide to either release more or wait until you see more aphids.
Generally ladybugs live for about two weeks in your fridge. So you have sometime to decide when you want to release them all.
In Summary
Aphids are a rapidly reproducing pest that need to be dealt with as soon as possible. Thankfully we have a few great options to remove aphids safely and organically. We can either:
- Use insecticide spray
- Use natural predators such as ladybugs
Regardless of which option you choose, remember to first use a strong spray of water to blast them off your plants. Follow this up with an insecticide spray or your ladybugs to finish them off.
Just because you have aphids this year does not mean you will have them again next year. Populations of insects come and go and you might get more natural lady bugs next year which eat aphids. So just be prepared in case you see a new aphid infestation on your plants.
Aphids and other pests are a normal thing to experience in your garden. This shows you have healthy bio-diversity in your garden. Just be sure to use an organic method to remove the aphids without harming your garden.