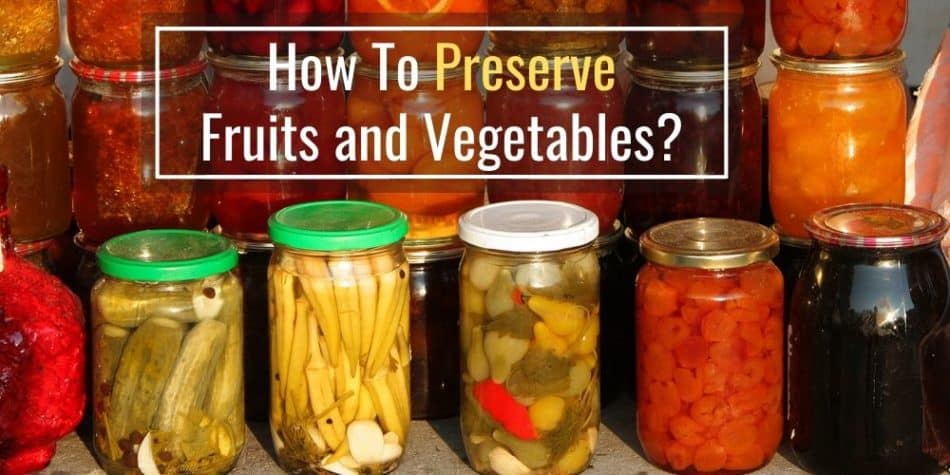
As you hit your stride with homesteading and harvest a bounty of fruits and vegetables, you may find that you have too much produce to eat fresh.
Preserving this crop can provide a nice home-grown treat in the winter months and even make the perfect present for a loved one.
Follow this guide for some simple ways to make this produce last throughout the year and get inspiration on what you can do with excess food!
Dehydrating Home-Grown Food
This is a great way to preserve your food, making it simple to hydrate and use them when you’re ready.
You can easily create seasonings, instant foods, soup bases, and much, much more with dehydration. Step aside instant mashed potato and soup mix from the store!
You don’t need specialty equipment for this process either, as you can use your oven on a low temperature to dehydrate your food. C
hop your fruit, vegetables, or herbs finely and then spread them out on a lined baking sheet. Bake in the oven at 150 degrees for six to eight hours until all moisture has baked out.
Pulsing these in the food processor can further widen what you can do with your dehydrated ingredients; adding a scoop of strawberry powder to your breakfast, spicing up a dish with your own chili powder or creating a secret blend of vegetables to add to your favorite stews.

Pumpkin Spice Pancakes
- 1 cup all-purpose flour
- 3 tsp baking powder
- 2 tsp brown sugar
- 1 cup milk or ½ cup yogurt and ½ cup water
- 1 egg
- 2 tsp vegetable oil or butter
- 3 tsp dehydrated pumpkin powder (approx. ¼ a large pumpkin sliced and dried in the oven then blended in a food processor)
- 2 tsp pumpkin spice seasoning
Pumpkin Spice Pancakes Steps
- Mix together your dry ingredients and wet ingredients in separate bowls
- Create a well in the middle of the dry ingredients. Slowly add the wet ingredients in and mix well until no lumps remain
- If your batter has persistent lumps then allow to rest for ten minutes and mix again.
- Place a frying pan over a medium heat and add a little butter or oil to prevent the pancakes from sticking.
- Add a scoop of batter and cook for 3 minutes on each side.
- Top these cakes with cream cheese frosting or confectioner’s sugar for an extra bit of decadence.
Homebrew Wine
Making your own fruit wine might seem daunting at first, but as long as you keep your equipment clean, then there’s very little that can go wrong.
It’s well worth investing in a large tub of sanitizer for that purpose, along with a fermenting bucket, wine yeast, a carboy and hydrometer.
Most combinations of fruit make for delicious wine – you can even throw some sweet vegetables in the mix for extra body. Fruits with higher sugar concentrations will make for a stronger, full-bodied wine whereas lighter fruits will create a crisper wine.
After fermentation has finished completely and there are no more bubbles in the carboy, you can bottle the wine and share it with friends.
If you prefer a sweeter wine, then you can add a sugar syrup to the bottle – just make sure the hydrometer shows a steady reading for three days in a row while in the wine before you do this otherwise the bottles may explode!
Simple Berry Wine
- 5g wine yeast
- 5lb of berries of your choice
- 1 gallon of warm water
- 1.5lb of white sugar
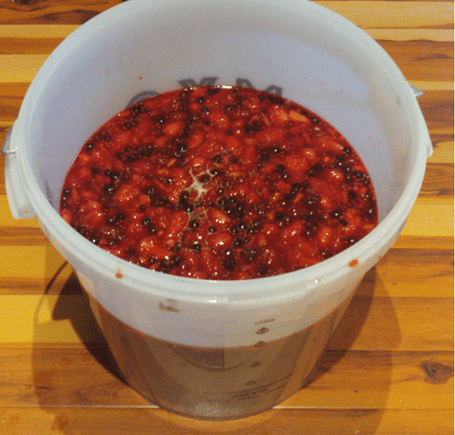
Simple Berry Wine Steps
- Add your fruit to your fermenting bucket.
- Add water, sugar and yeast then allow to ferment for one week, stirring each day.
- After one week, strain the liquid and place it in your carboy to finish fermentation.
The wine will be ready to drink after around six weeks, but you can leave it in the carboy for months until the wine clears and becomes smoother.
Pickling
Pickles are incredibly versatile, and most vegetables are suitable for this process.
Cucumbers, radishes, carrots, onions, and cabbage are among the most common – though you can also pickle the likes of lemons, green beans, and turnips.
Flavoring your pickling brine is key – adding chilies, garlic, peppercorns, and fennel can really boost the taste of the final product. You can also select different vinegars for the process too, white vinegar is the standard, but you could also use wine vinegar or apple cider vinegar for extra tang.
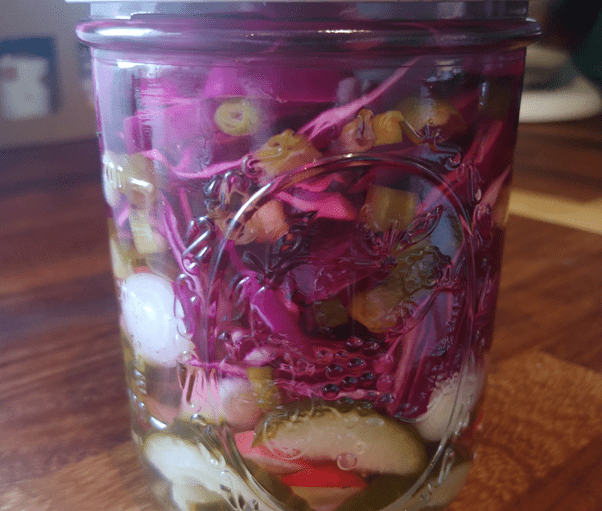
As long as your vessels are clean, your pickles can last for months in the pantry. If the can lids become puffy or the pickles fizz when you open them, they may have become infected and shouldn’t be eaten.
We love to hold on to old jars to reuse for homemade pickles.
Pickle Brine
- 2 cups vinegar
- 4 cups water
- 4 tsp salt
- 2 tsp white sugar (you can add up to 4tsp if you like a sweeter pickle)
- 2 tsp of spices (garlic, chili, mustard seeds, peppercorns)
- 4 x pint jars filled with sliced fruits and vegetables of your choice
Pickle Brine Steps
- Pour the brine ingredients into a pot.
- Heat until the sugar dissolves and the spices become fragrant.
- Allow to cool slightly before pouring into your jars – the liquid should cover the pickles completely with about 1cm of space at the top to allow for any chemical reactions.
Jams and Preserves
Thinking about jams and preserves might conjure up images of stocked pantries from days gone by.
This is one of the older methods of keeping fruits fresh and ready to use beyond its season – there’s nothing quite like enjoying a tart raspberry jam in the middle of winter!
Sugar and pectin are the main preservatives that keep the fruit fresh in their jars. Most fruits contain pectin (which is a type of fruit sugar) and the higher the density, the harder your jam or preserve will set.
Some people add gelatin to their mixture to create a jelly consistency, but this isn’t always necessary.
While berry jams are au fait, you can also make savory jams or spiced combinations that tingle your tastebuds.
Spiced Apple Jam
- 10 apples, chopped and cored
- 1 cup white sugar
- 1 cup brown sugar
- 1 cup apple juice
- The juice and rind of one lemon
- 1 tsp vanilla essence
- 1 tsp cloves
- 1 tsp nutmeg
- 1 tsp cinnamon
- 1 tsp ginger
Spiced Apple Jam
- Place your apples, juice, sugar and lemon into a large pot over a medium heat.
- Allow the sugar to boil and fruit to break down, stirring regularly for an hour.
- When your apples are soft, you can use a potato masher to break them up, or food processor if you like a smoother jam.
- Return the pot to the heat and add your spices – allow to come to a boil.
- Keep the pot on the heat until you can drop a teaspoon of the mixture into iced water and it holds its shape.
- Divide between four sterilized pint jars and allow to cool before placing the lid on.
Freezing
Another way to get the most out of your vegetable harvest is to reduce waste.
When preparing vegetables, don’t throw away the tops or peels as these can be used for broth. Keep a Tupperware in the freezer and add these cuttings as you go – then, when it’s full, boil them up into a delicious broth.
Final Thoughts
Growing food at home is a great achievement and using these methods, you can get every last scrap out of them.
This really rings true to the spirit of homesteading too; nothing should be wasted and the more you can store away for colder months, the better!